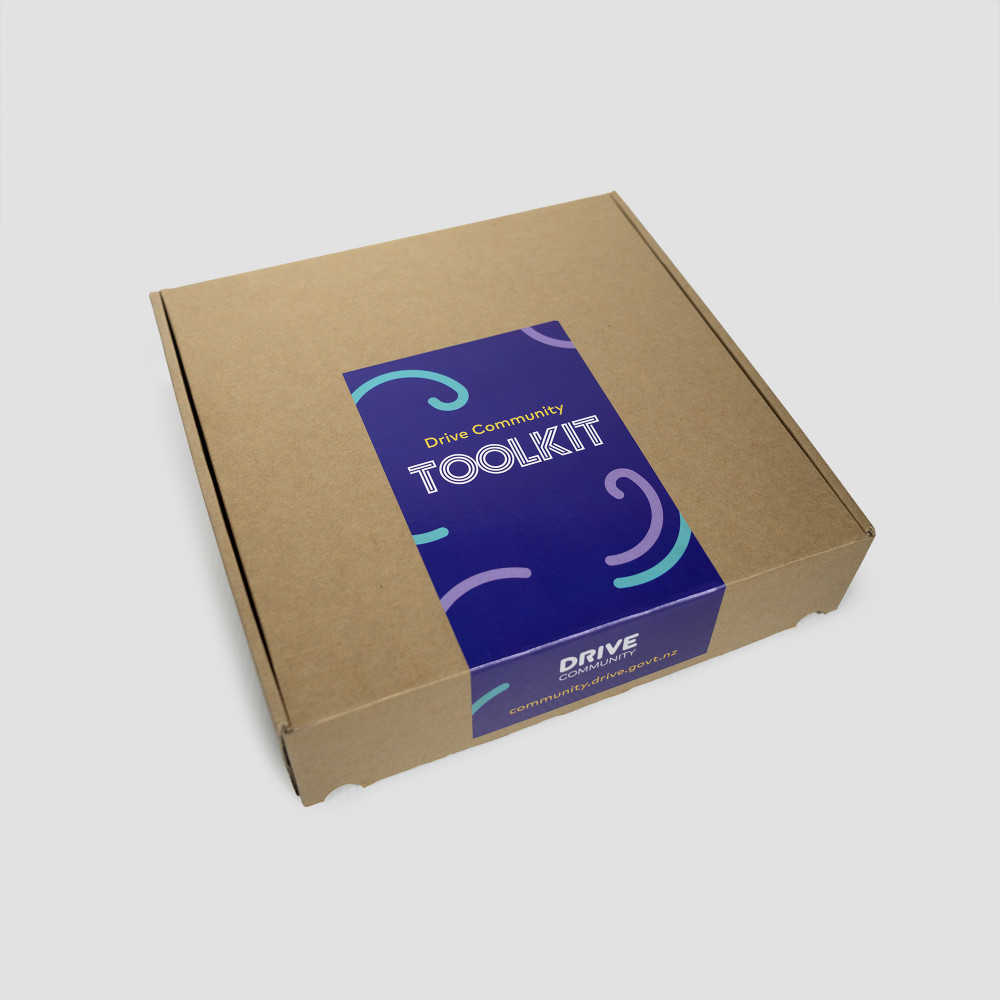
The Give Way Rules pack

L
R

Create a slide show or print these road code images for your students to practise the Give Way rules.

Test your learner drivers on the Give Way rules.

Download

How it works

These images are taken directly from The official New Zealand road code and can be downloaded and used in a variety of ways to help students learn the Give Way rules.

The official New Zealand road code

When you download and unzip the file, you will see that there are 20 pairs of images. Each pair has a question and an answer, and their file name connects to the page they are on in the road code.

  • The question image shows an intersection scene of a car waiting at an intersection waiting for another car or other road user (person walking or riding a bike).
  • The answer image shows the same intersection, but with arrows indicating the direction of travel the cars take. The solid line shows who can go first and the dashed line shows who has to give way.
Question
Answer
Give Way intersection with a red car and a blue car facing each other. The blue car indicates it wants to turn right and the red car indicates it wants to turn left.

RC-page-74-Give-Way-question.jpg

Give Way intersection with a red car and a blue car facing each other. A solid black line with a arrows shows the direction the red car will travel. The dashed black line shows the direction the blue car will travel.

RC-page-74-Give-Way-question.jpg

How to use it

Slide show

  • Create a digital slide show by showing a question image to your learners.
  • Encourage the learners to discuss in a group who in the image has to give way.
  • Show them the corresponding answer image so the learners can check if they were correct or need more practise on that example.

Print

  • Print out the question images and have learners draw in the arrows of who in the image has to give way.
  • Show them the corresponding answer image so the learners can check if they were correct or need more practise on that example.